In the modern-day business environment where CRM rules, copying website form lead data by hand into Salesforce is not only time-consuming – it’s a gamble. Delays cost you leads. The good news? You can automate this task entirely without coding a line.
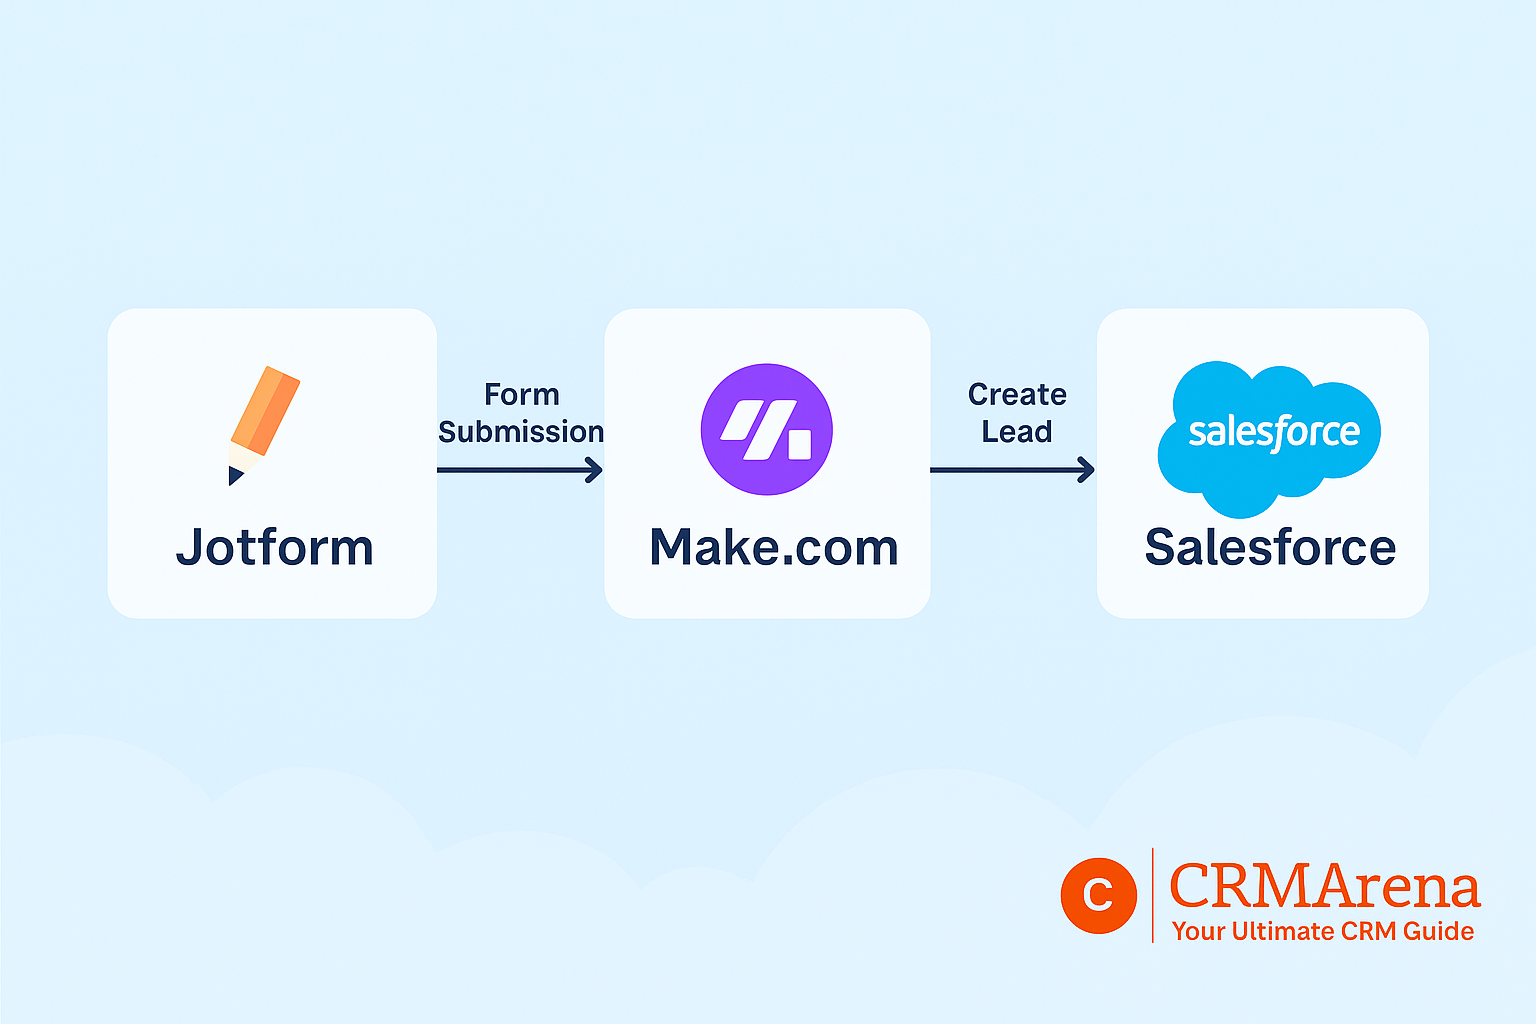
In this tutorial, we will guide you through connecting a Jotform submission into Salesforce CRM through Make.com – so your lead information comes in real time, and your sales cycle never gets interrupted.
🧠 Why Use Jotform + Make.com + Salesforce?
This no-code stack is powerful for small teams and consultants:
- ✅ Jotform: Easy-to-use drag-and-drop form builder
- ✅ Make.com: Visual automation platform for connecting 1000s of apps
- ✅ Salesforce: World-class CRM for managing leads, contacts, and deals
With this trio, you can:
- Capture lead data via a website form
- Automatically push it into Salesforce as a Lead or Contact
- Trigger workflows or emails based on new entries
What You Need Before Starting
| Tool | Purpose |
|---|---|
| Jotform | For building and embedding forms |
| Make.com | For automating the integration |
| Salesforce | To store and manage CRM records |
Optional: Salesforce admin access (for creating custom fields or testing permissions)
🛠 Step-by-Step: Connect Jotform to Salesforce Using Make.com
🧩 Step 1: Create Your Lead Capture Form in Jotform
- Sign up or log in at jotform.com
- Create a new form with relevant fields:
- Full Name
- Phone
- Message/Comment
- Save and publish the form
- Copy the Form URL or embed it on your website
Step 2: Set Up Make.com Scenario (Your Automation)
- Go to make.com and create a free account
- Create a new Scenario (aka automation)
- Add your first module:
- Search for Jotform
- Select Watch for New Submissions
- Connect your Jotform account and choose the form you created
- Add your second module:
- Search for Salesforce
- Choose Create a Record
- Connect your Salesforce org using OAuth
- Select the Lead object (or Contact if you prefer)
- Map the form fields to Salesforce fields (e.g., Email → Email, Name → Full Name)
💡 Tip: You can also create related tasks, send Slack alerts, or email notifications within the same Scenario.
🔄 Step 3: Test Your Scenario
- Run the Make.com scenario in “test” mode
- Submit a test entry via your Jotform
- Check Salesforce to confirm the Lead was created properly
✅ Step 4: Schedule and Activate the Automation
- After testing, click “Enable” on the Make scenario
- It will now check for new Jotform submissions in real-time or at defined intervals
- You’re live!
🧠 Optional Enhancements
- Assign Lead Source dynamically based on form origin
- Trigger auto-response email from Salesforce using Email Alerts or Flows
- Use conditional routing in Make.com (e.g., send high-value leads to specific reps)
- Add a Slack or Email module for instant team notifications
🔒 Is This Integration Secure?
Yes. Both Jotform and Make.com use secure OAuth connections and HTTPS encryption. Just ensure your form fields comply with privacy laws (GDPR, CCPA) and Salesforce security settings.
📈 Real-World Use Cases
- Agencies: Capture service requests and create Salesforce opportunities
- Coaches/Consultants: Auto-create leads from discovery session forms
- B2B Companies: Route demo request submissions into Salesforce campaigns
- Nonprofits: Register volunteers or donors directly in Salesforce
💬 Final Thoughts
You don’t need to be a developer to build a smart, automated lead capture system. By using Jotform, Make.com, and Salesforce together, you can eliminate manual entry, speed up your response time, and ensure no lead ever slips through the cracks.
Ready to set it up? Start with a simple form → connect it in Make → and let your CRM do the rest.